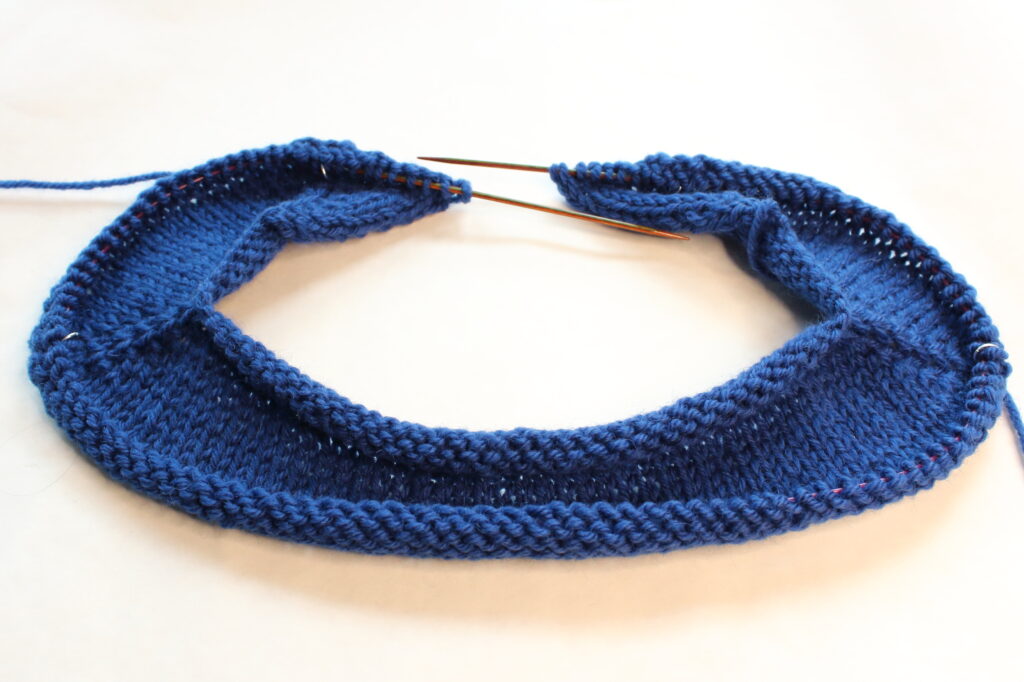
Pattern grading from the smallest sizes to the largest sizes of a knitwear pattern can need different rates of increases for a variety of reasons. The main reasons are to be able to start with a reasonable back neck measurement, to complete all necessary increases before the upper body grows too long, and to maintain a neckline that doesn’t grow too big.
As with all things in knitting, you have many options for how to make your increases every round. I’m sure other designers and knitters do it differently. I want to share a bit here about how I do it on my patterns.
All of my sweater and tee patterns are top-down. That means they start at the top of the neckline and then grow down from there. Most of my top-down sweaters and tees use raglan increases. I need to write a blog post about all the reasons that I think raglans are great (I know they get some grief and I strongly disagree). For now, I’ll just say that I believe top-down raglan garments are flattering for most body types and that is why I choose them time and time again.

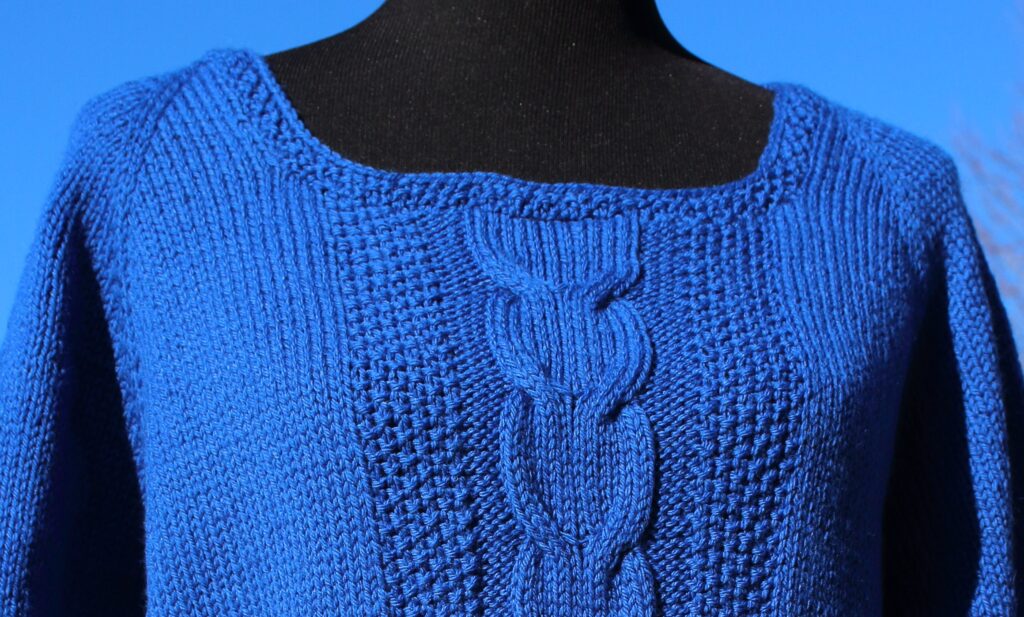
At the beginning, my top-down patterns include back and forth (right-side and wrong-side) rows to grow the neckline and allow the front of the neckline to situate lower on the body than the back of the neckline. The length of this back-and-forth section varies in my patterns depending on the type of neckline and the size a knitter chooses. The type of increases in this section will vary too.
Usually the smaller sizes of a pattern will have increases only on the right-side.
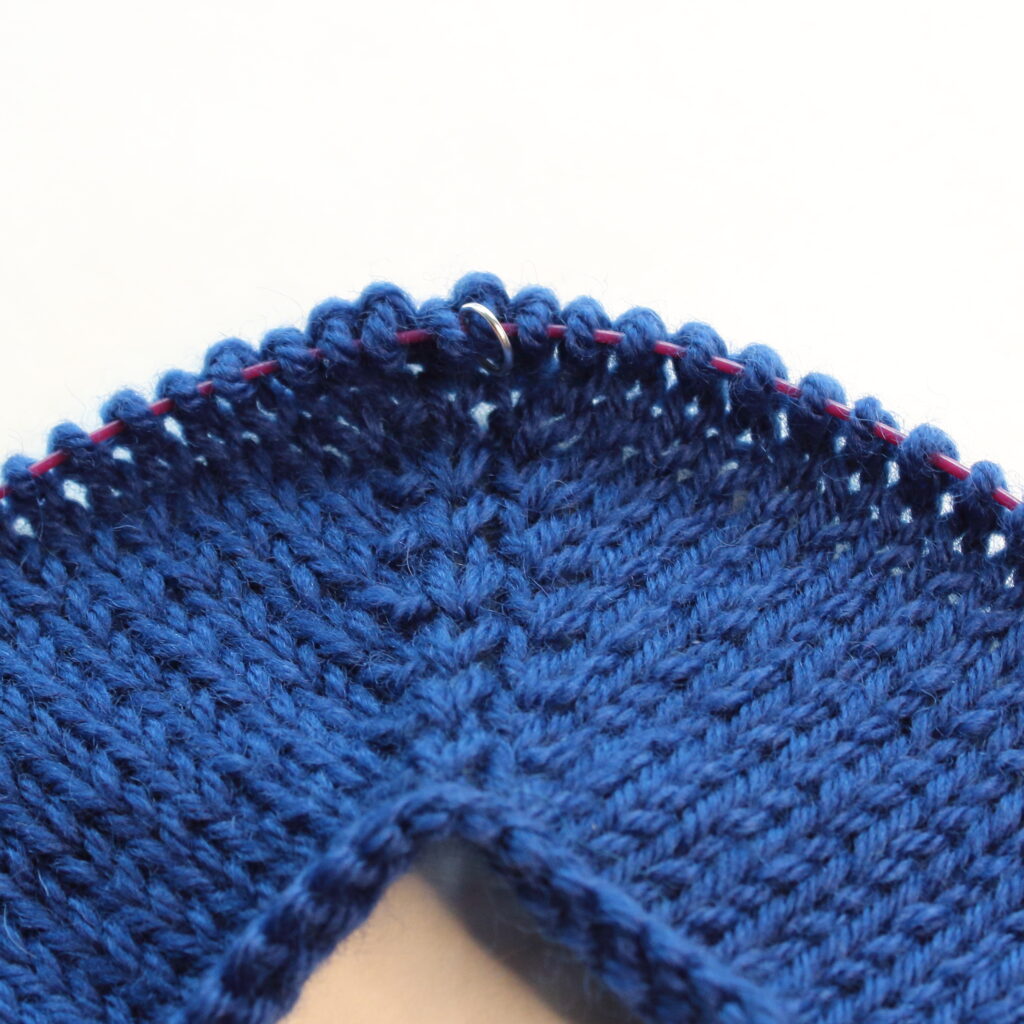
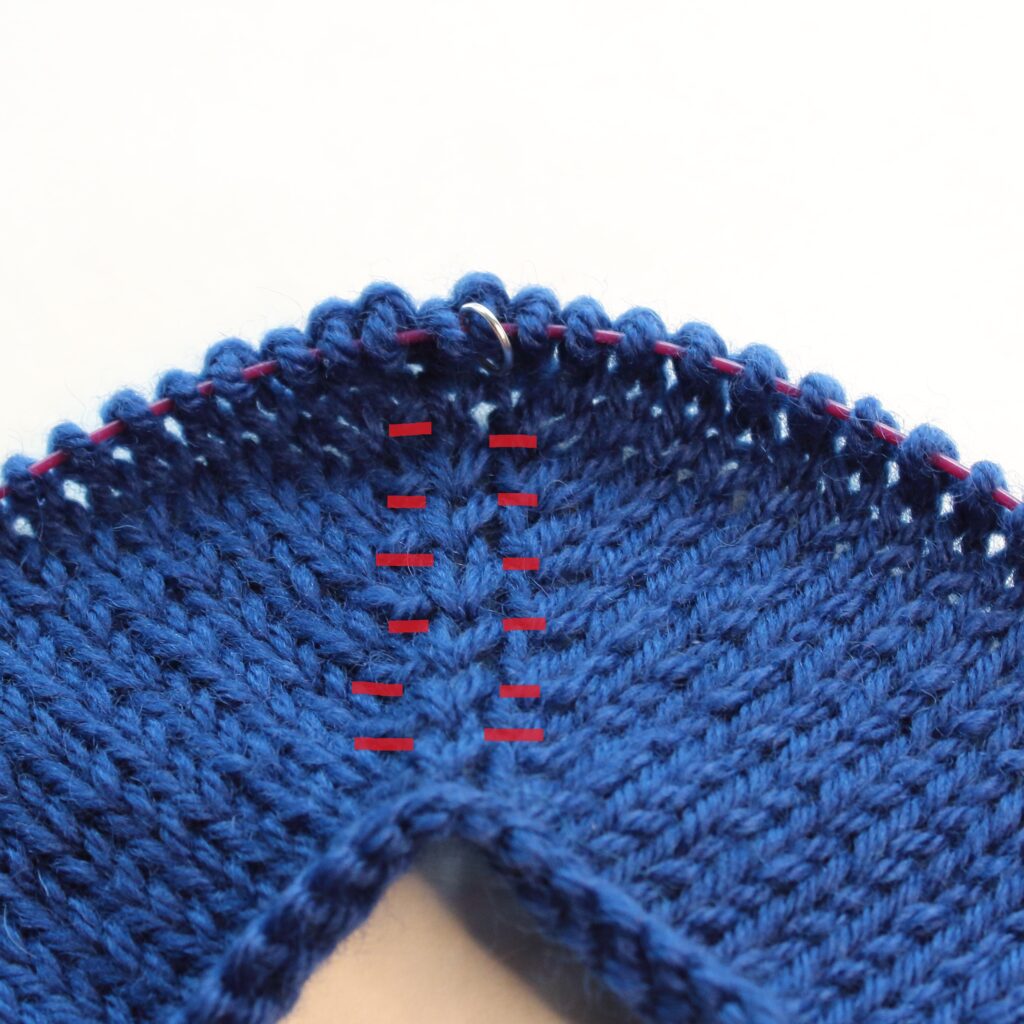
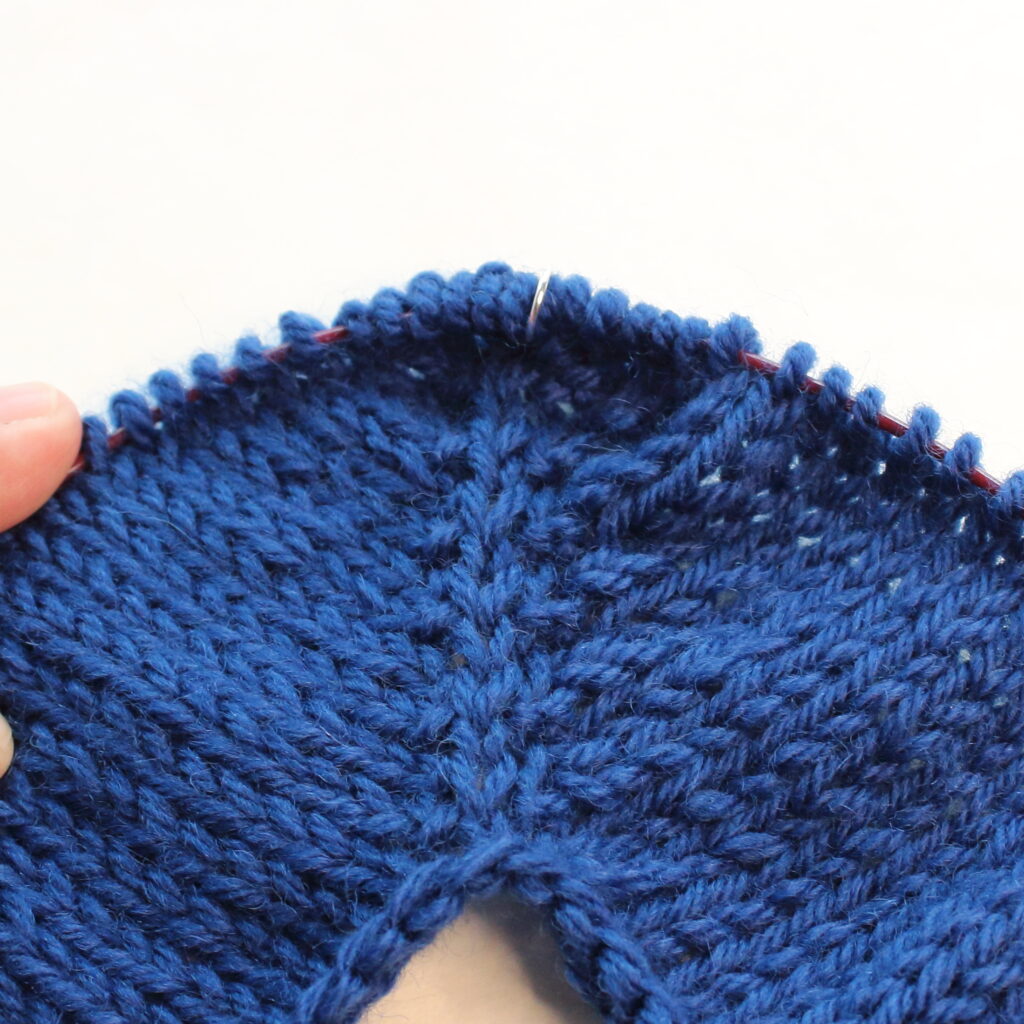
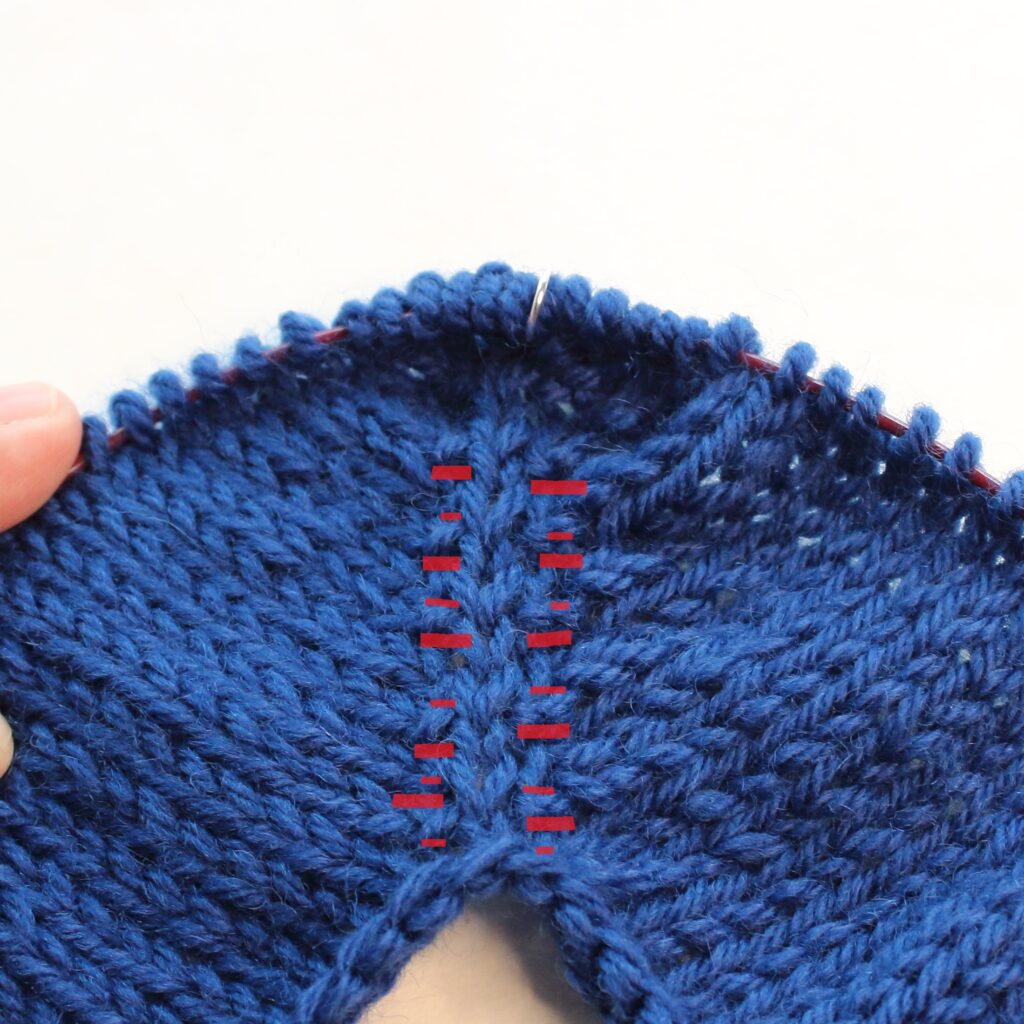
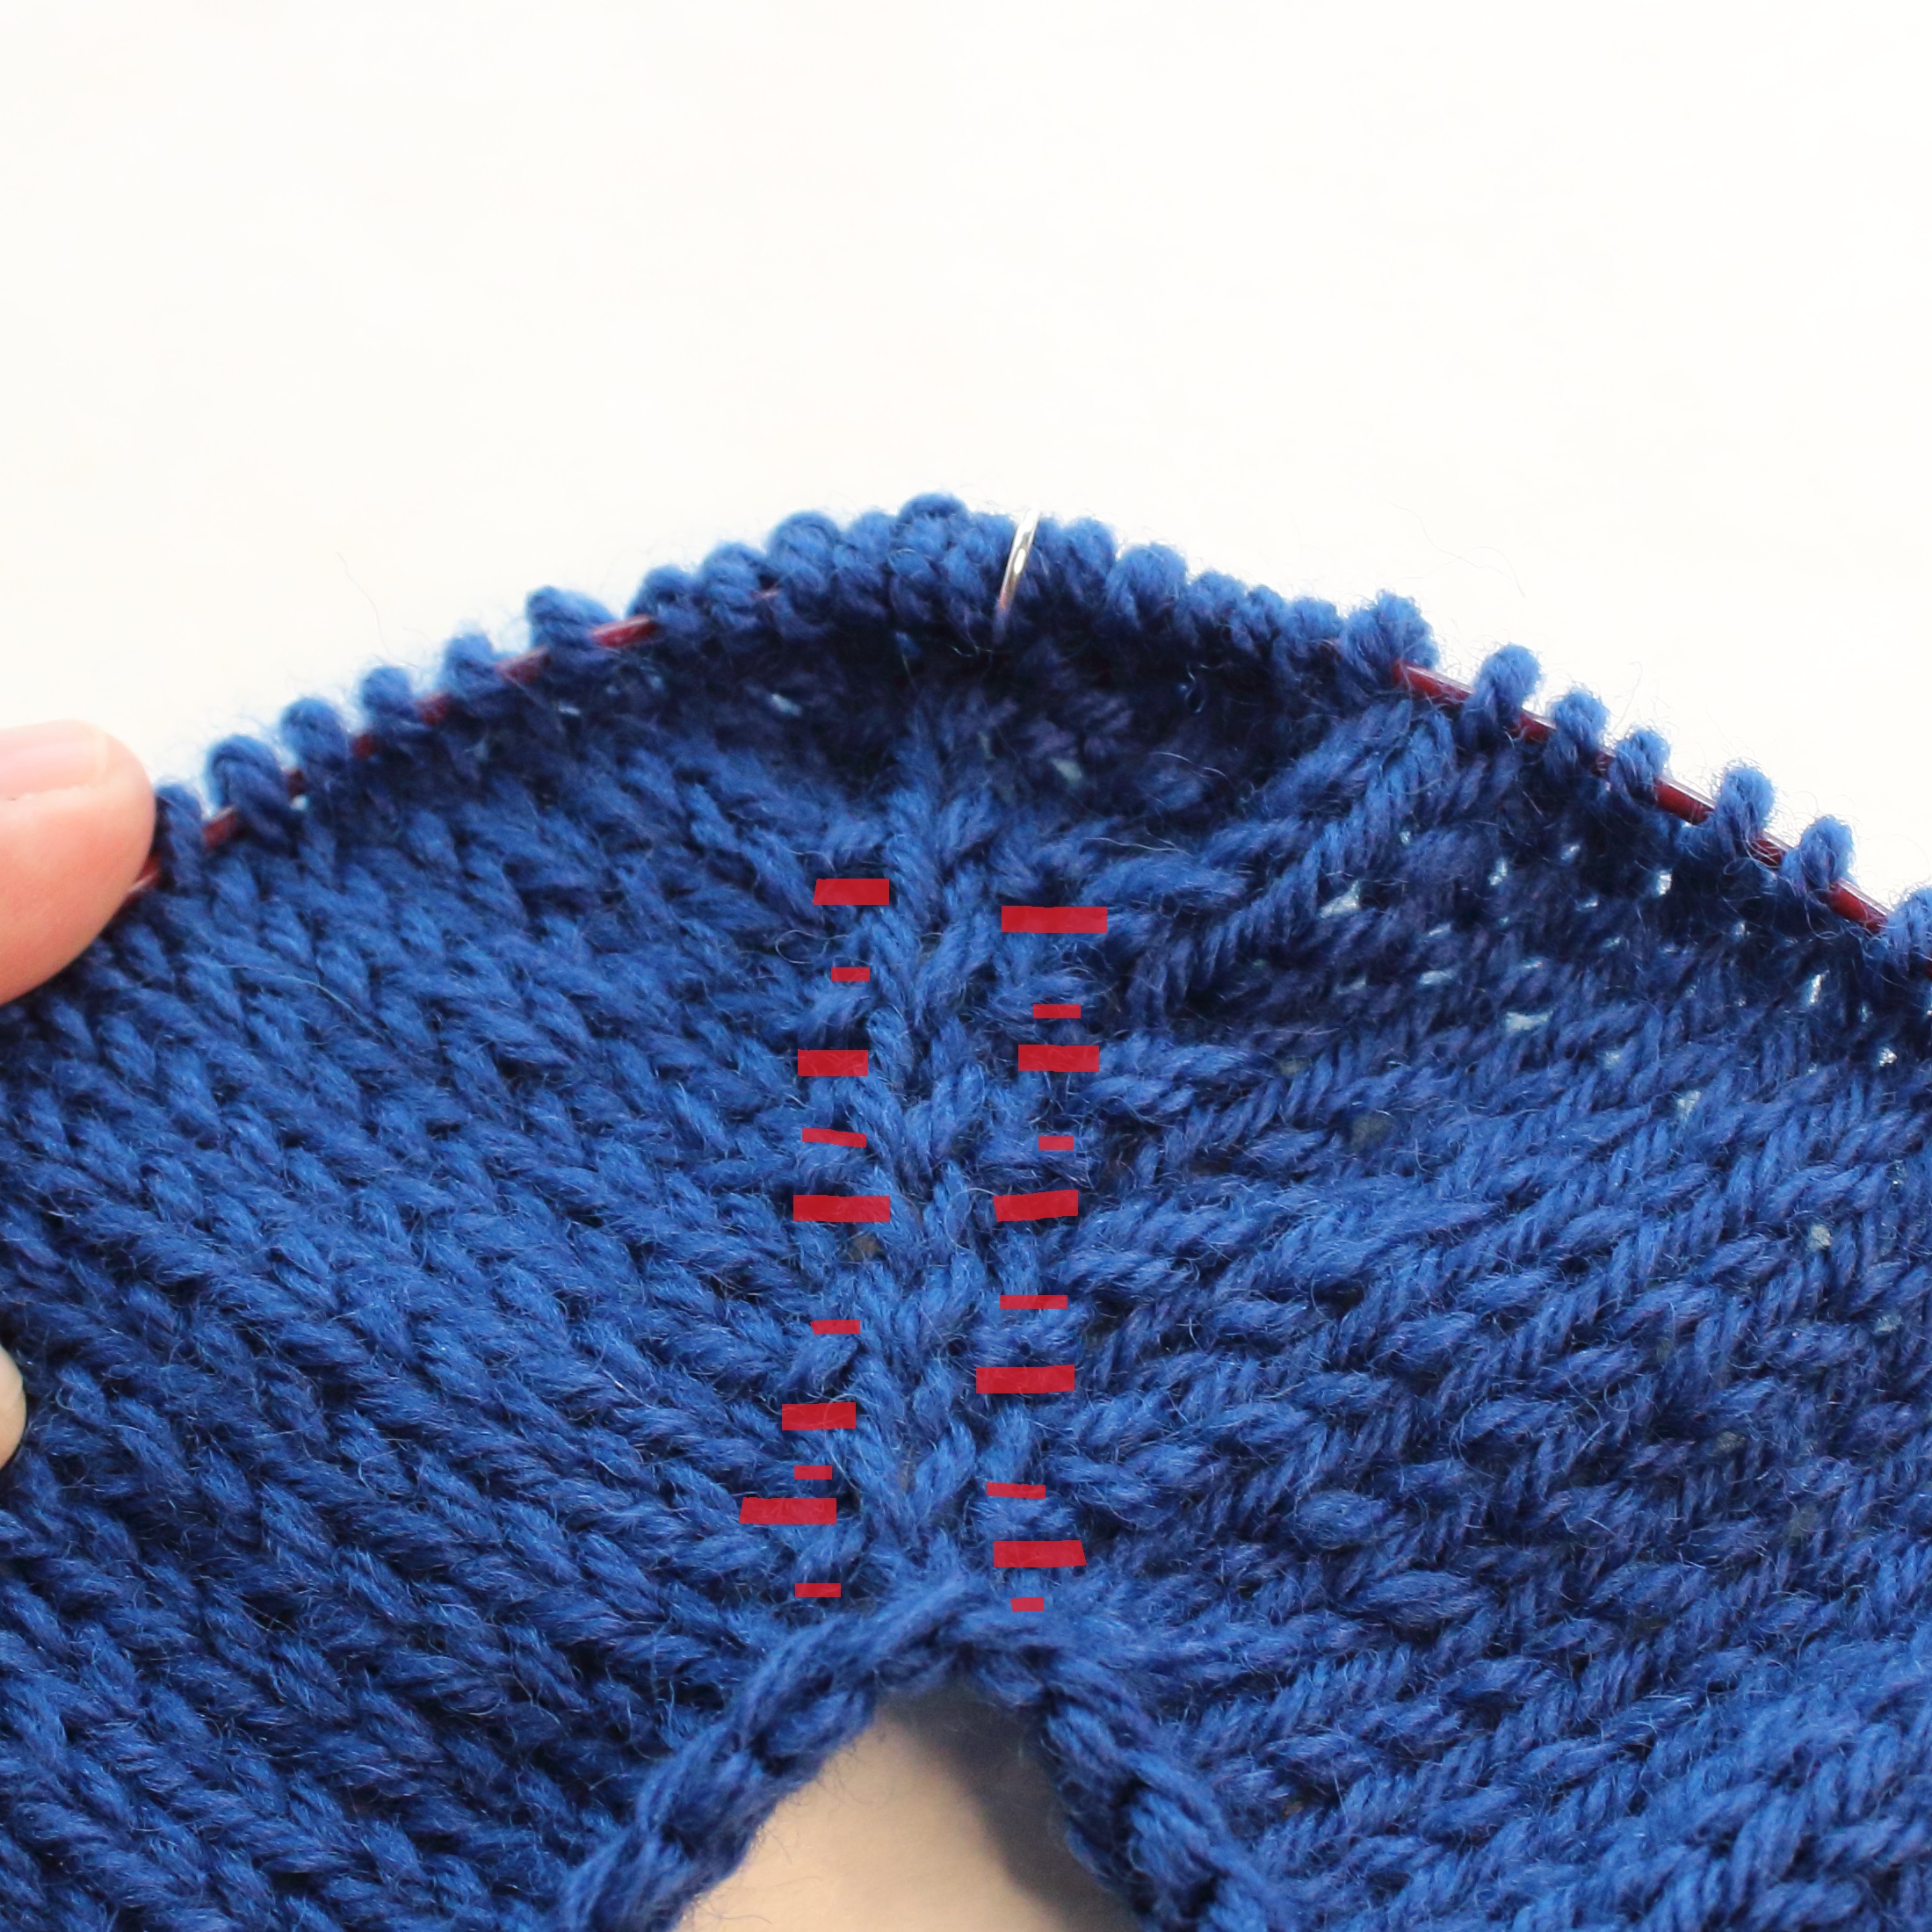
Where increases are only made on the right-side, the instructions for the right-side increases look like this, “knit to last stitch before the marker, k1f&b, slip marker, k1f&b, knit” and so on. You can see above that this creates a small horizontal bar where the increased stitches are made.

Usually the larger sizes of a pattern will use both right-side and wrong-side increases in order to reach the correct number of stitches without making this top section too long. When this happens the instructions for the right-side increases are the same as above. The instructions for the wrong-side increases look like this, “purl to 2 stitches before the marker, p1f&b, p1, slip marker, p1, m1R, purl” and so on.
After much trial and error, I use k1f&b (knit one front and back) for all the right-side raglan increases and then both p1f&b (purl one front and back) and m1R (make one right by lifting the strand between sts from back to front and then knitting through the front of it) increases on the wrong-side rows to mimic the look of the k1f&b right-side increases. The increases are placed slightly differently on the wrong side in order to properly place them. As written, these increases do two things – the types of stitches chosen mimic the look of the increased stitches on the right side and the placement of the stitches causes them to fall in the same location on the front of the knit garment. I’ll admit that the wrong side increases are not intuitive. I have to think about them every time I make them. But they do a great job of mimicking the right-side increases and are worth the effort!
Here’s a quick video of my process for both the p1f&b and the m1R for the wrong side increases.
I hope this quick look helped. Take care and happy knitting!
Leave a Reply